
rattleCAD 4.0 - Design Principle
What is it for?
This page describes what rattleCAD aims to be and the main concept, how rattleCAD 4.0 supports you to bring your Bike Fitting results into rattleCAD 4.0 to design and build your Bike Frame.
Introduction
rattleCAD supports a lot of features that helps you to design a bicycle frame. But before describing all the features and how these features work lets take a look on the main concept rattleCAD is build arround.
rattleCAD 4.0 guides you throug a procoess split into 5 steps:
- Bike Fitting
- Geometry Skeleton
- Frame & Tubes
- Summary & Components
- Workshop Drawings
Bridge the gap between Bike Fitting and Frame Building
rattleCAD 4.0 helps you to bring your Bike Fitting Values into Frame Building in the workshop.

rattleCAD 4.0 filling the gap between Bike Fitting and Frame Building in the Workshop
A Process in several Steps
rattleCAD 4.0 guides you throug a procoess split into 3 main steps:
- Bike Fitting
- Geometry Skeleton
- Frame & Tubes
and 2 minor but at least not unimportant steps:
- Summary & Components
- Workshop Drawings
A Process per definition means that:
- each process step has a predecessor and a follower and
- the preceding step influences the following process steps.
- And of course: A following process never can influence a predecessing process step.
- If you have to change a specific parameter you have to go back to the corresponding process step and continue with the process from here.
Five Process Steps
Initial Situation |
||||
|
To build a bike that fits best to the customer analyse riding behaviour in a Bike Fitting supported by a Bike Fitter or a Sport Scientist. |

|
|||
Step 1: Bike Fitting |
||||
|
||||
|
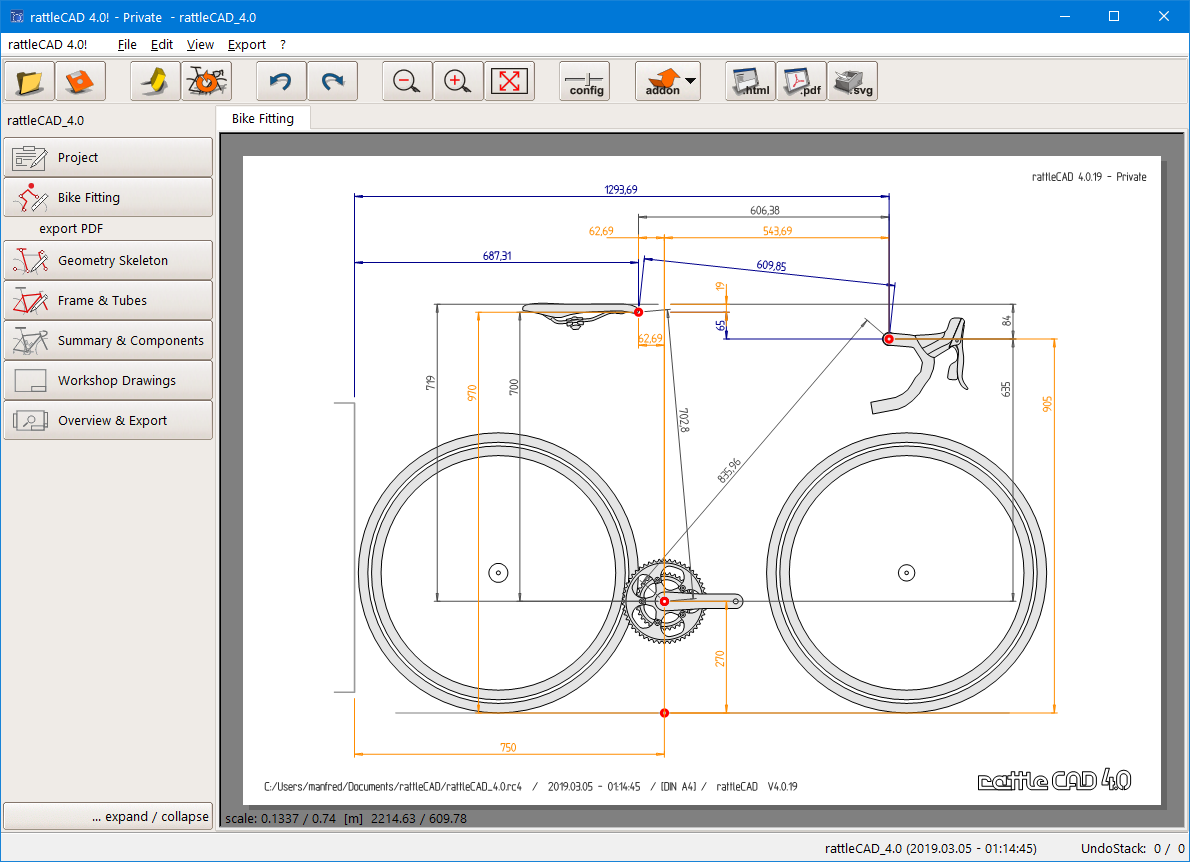
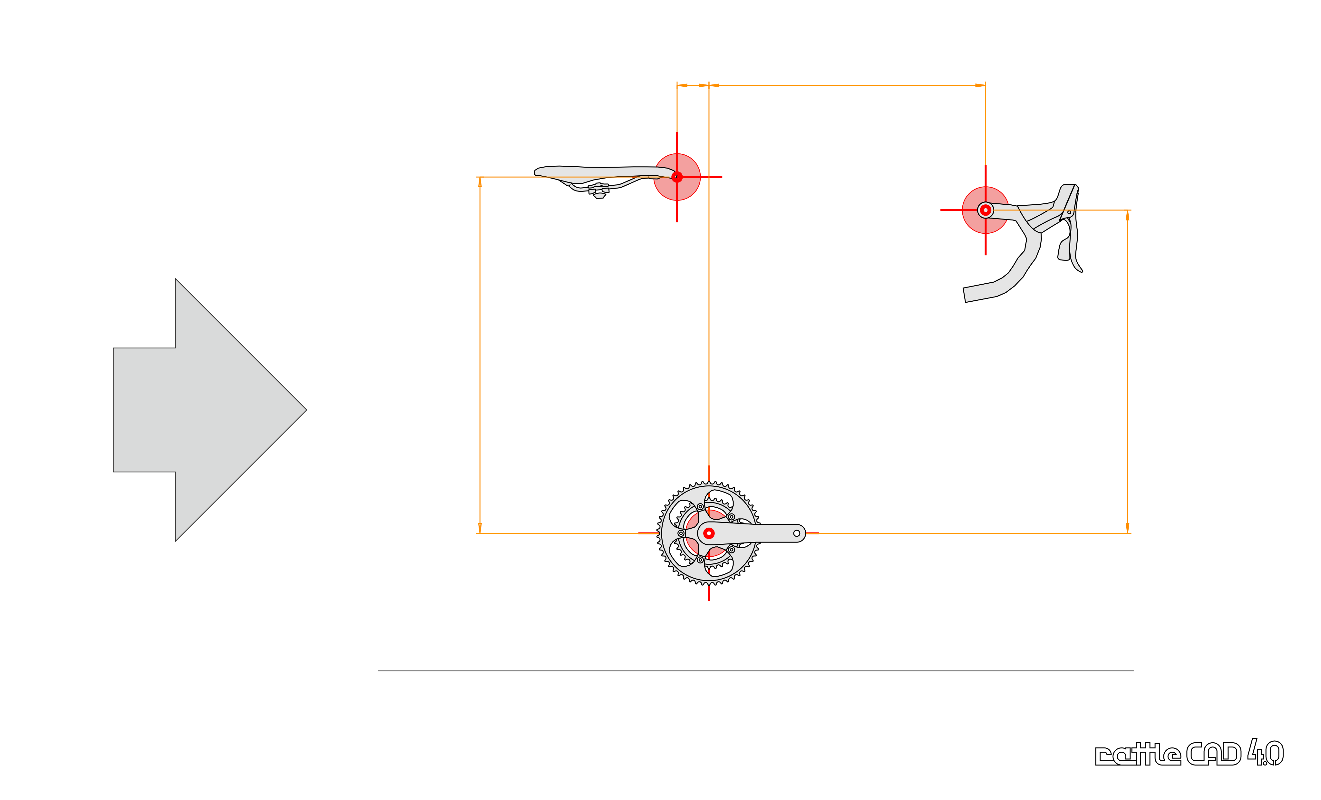
The result of the Bike Fitting Process is the position of Saddle and Handlebar in reference to the position of the Bottom Bracket. |
|
|||
Step 2: Geometry Skeleton |
||||

|
||||
|
The result of the Geometry Definition is a Skeleton defining the Geometry" of your bike. Along this skeleton you can build frames in different shapes. |

|
|||
Step 3: Frame & Tubes |
||||

|
|
|||
|
The result of this step is the refined Frame fitting best to you or your customer. |

|
|||
Step 4: Summary & Components |
||||
|
|
|||
|
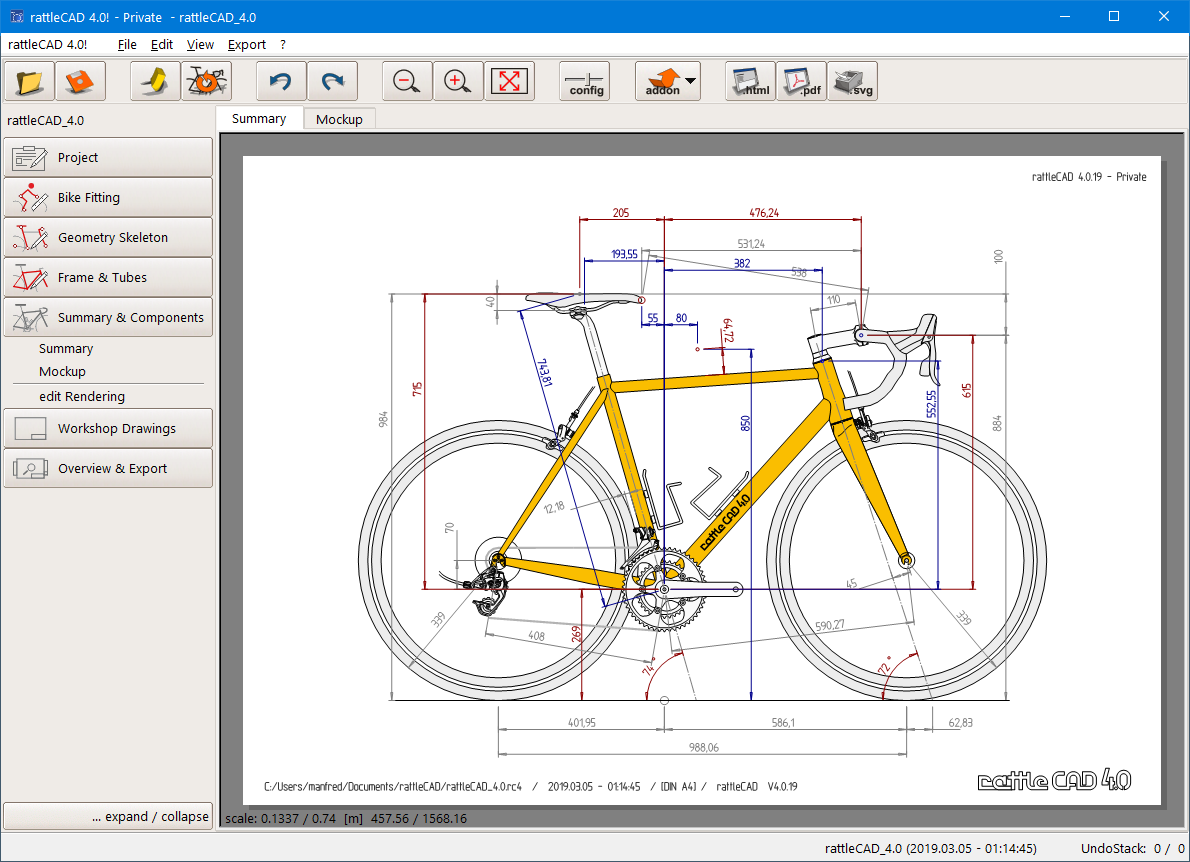
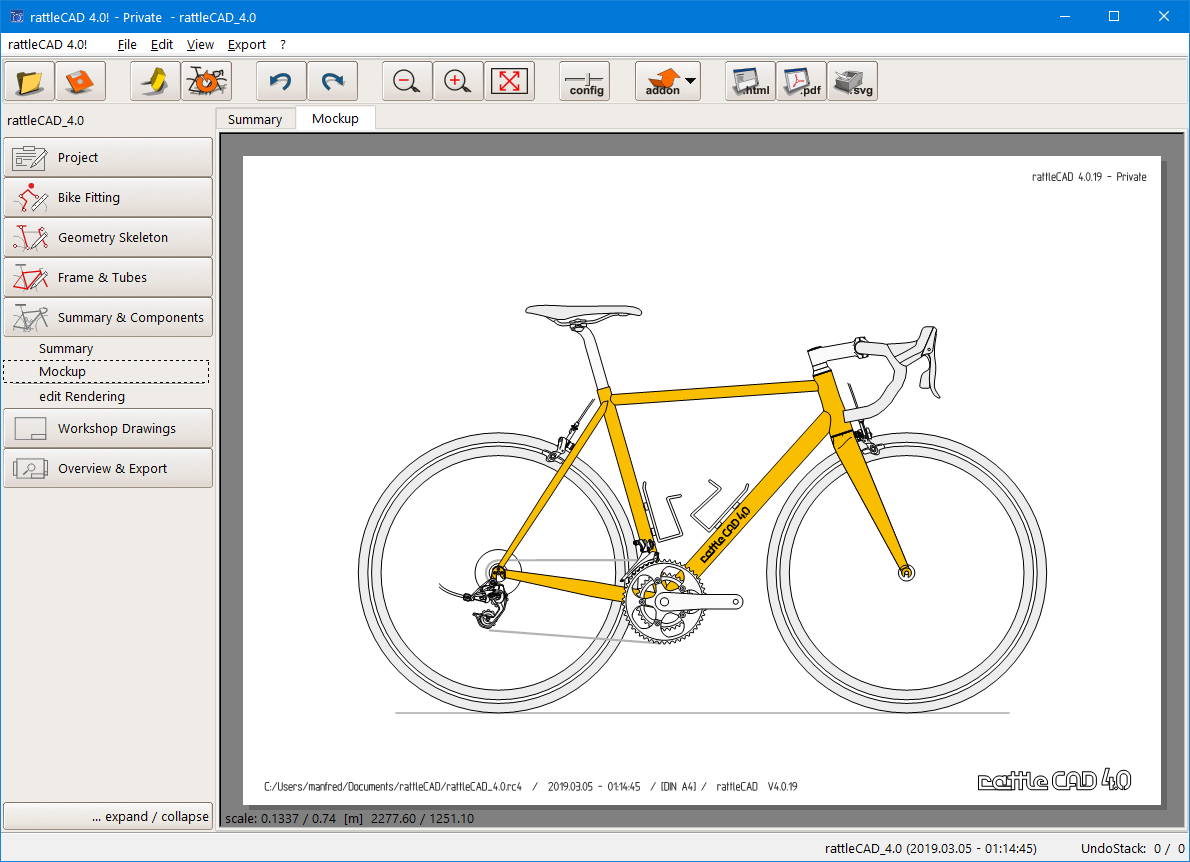
This section allows you to finish the Bike Framewith components of your preference to get a first impression of the future bike. |
|
|||
Step 5: Workshop Drawings |
||||
|
|

|
||
|
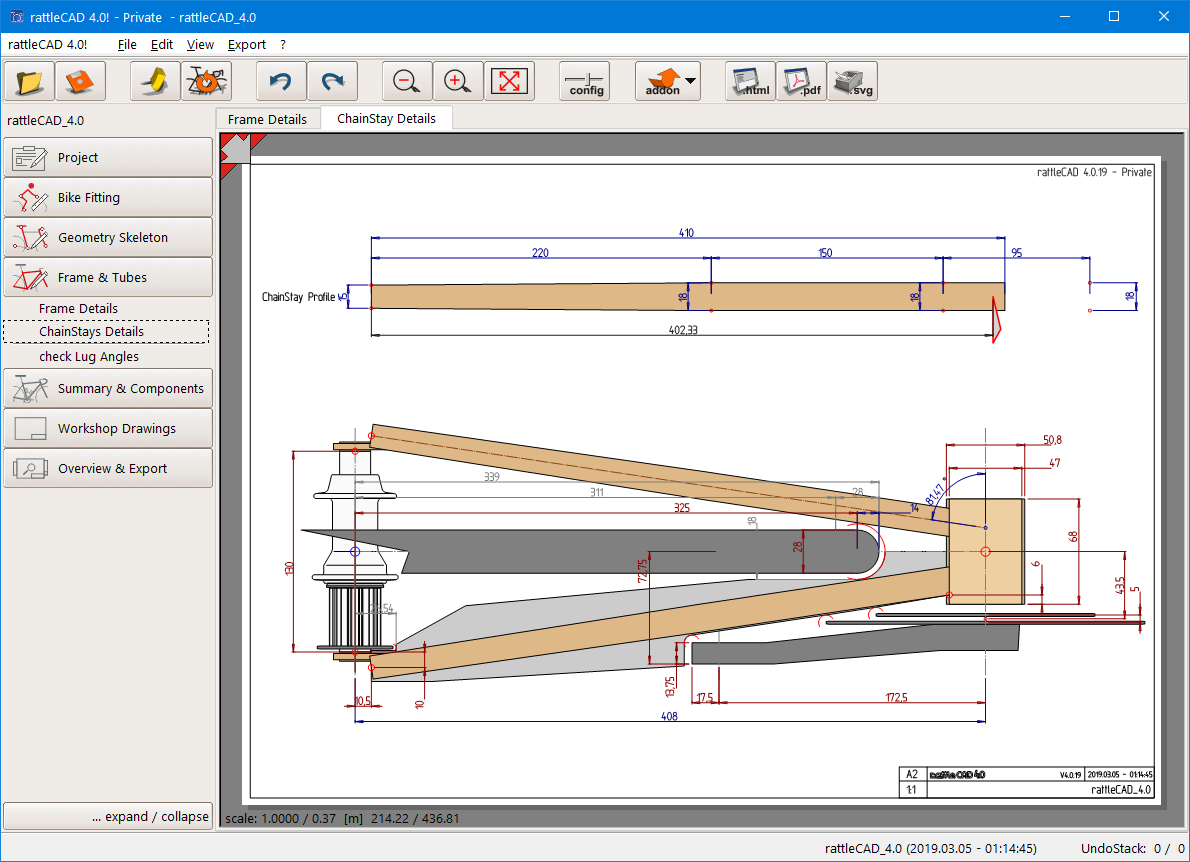
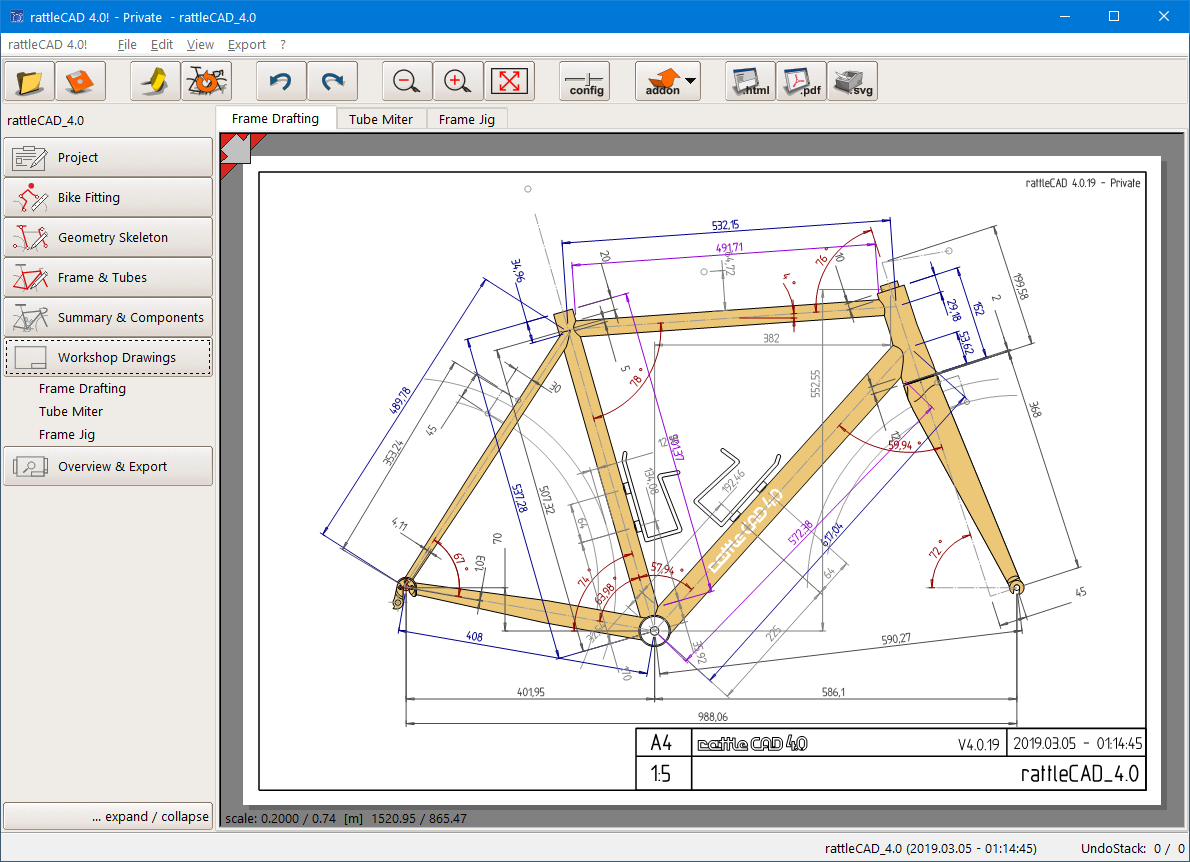
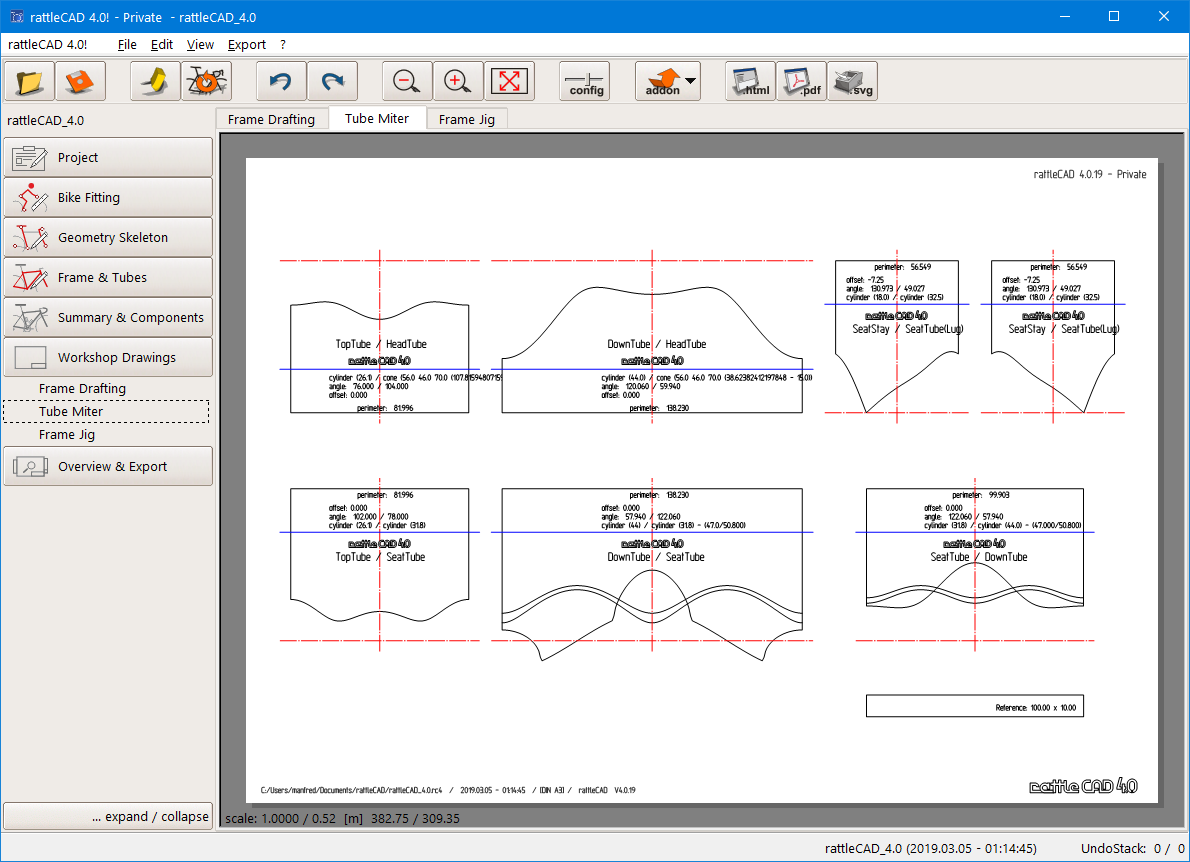
... export and print all required Workshop Drawings provided by rattleCAD.
|
||||
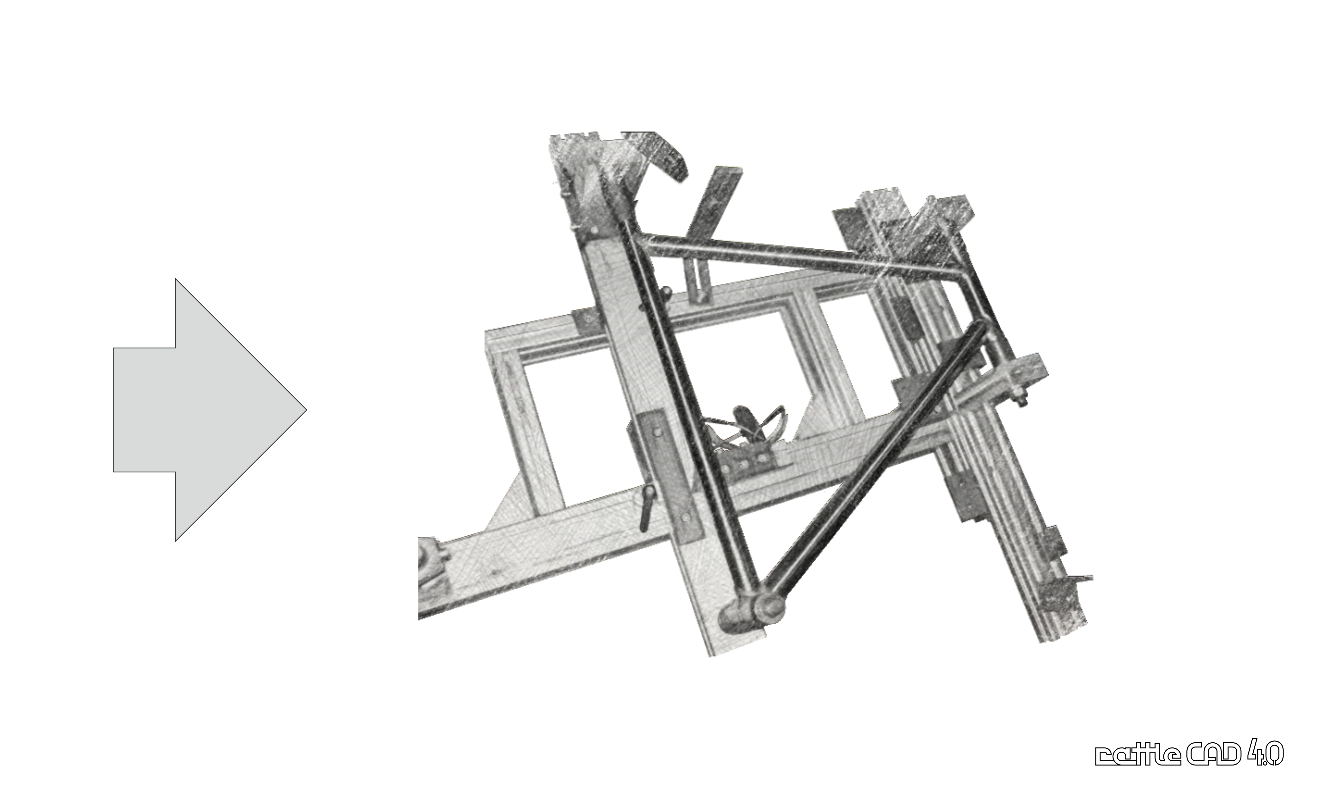
Final Step: Build the Frame |
||||
|
... now it is on you and your expertise to build the Bike Frame. |
|
|||